DESIGN · PERSONALIZE · LEARN
Make it yours.
Stitch by stitch.
Explore personalized caps, names, and brand details. Learn the essentials and turn your next idea into a thoughtfully planned project.
Have an idea? Let’s plan your project
It starts with a detail.
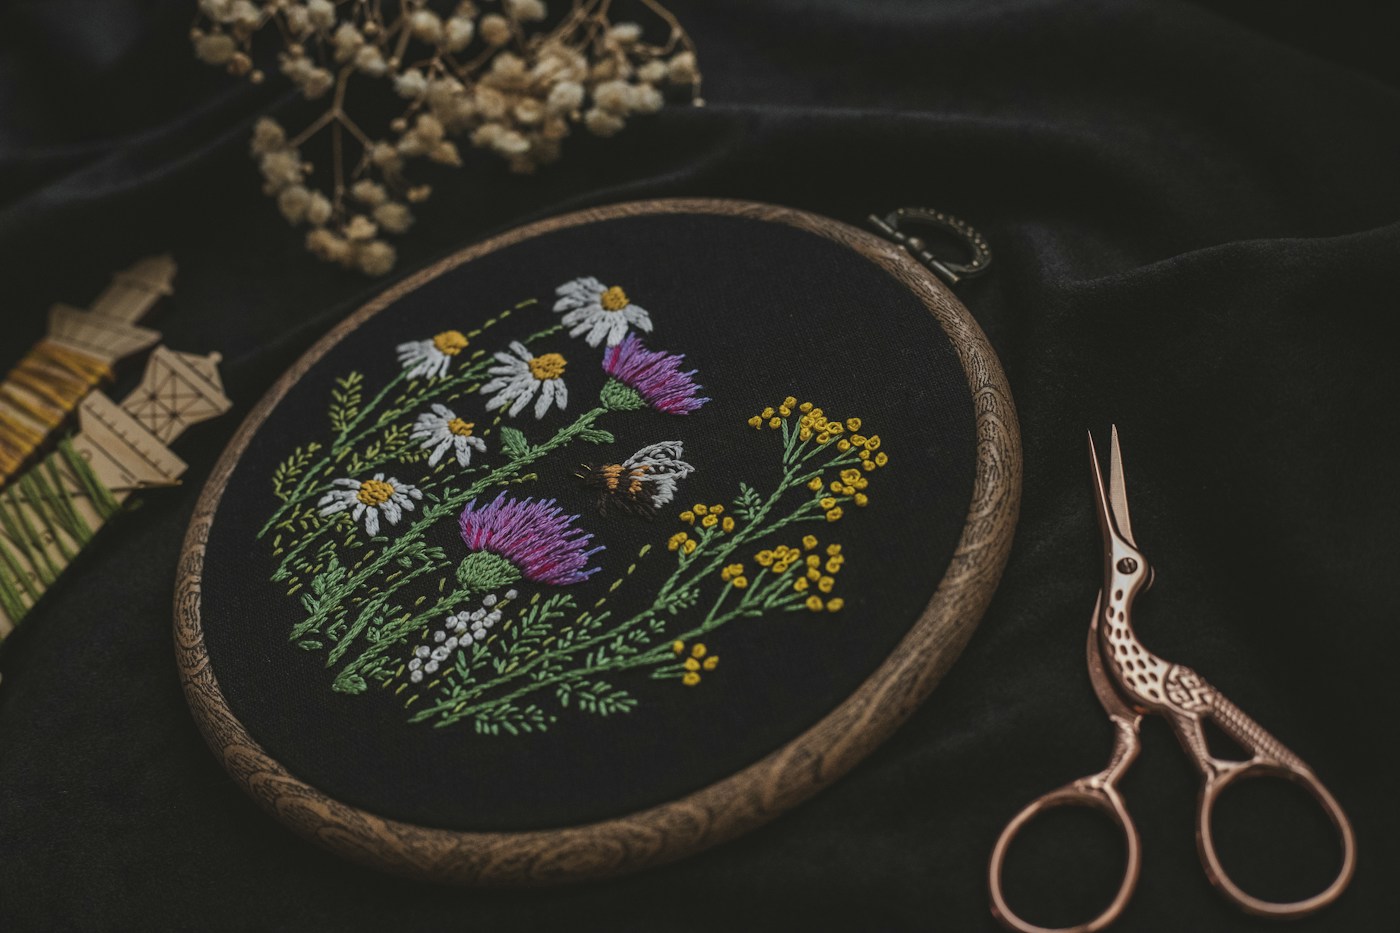
Inspiration · Photo by Ksenia Yakovleva / Unsplash
MADE PERSONAL
Small details.
A lasting impression.
A name. A message. A mark that means something. Your project begins with the details that make it yours.
Share your artwork or describe your idea. We’ll use your project inquiry to discuss the design, item, quantity, and next steps.
Inspiration in every stitch.
A collection of textures, colors, and details from the world of embroidery. Temporary reference photographs to inspire your next project; these are not projects made by AI Embroidery Studio.

Photo by James Inigo / Unsplash

Photo by Agto Nugroho / Unsplash

Photo by Gio Gix / Unsplash

Photo by Barbara Krysztofiak / Unsplash

Photo by Mel Poole / Unsplash

Photo by Em Sin / Unsplash

Photo by The Cleveland Museum of Art / Unsplash

Photo by Nathana Rebouças / Unsplash
What would you like to create?
Start with a purpose, then shape the details. These ideas are a starting point for your inquiry; item suitability and production options are confirmed for each project.
Signature caps
Give your identity a front-row seat. Explore a logo on the front, a personal name at the back, and a web address on the strap.
Names & meaningful details
A first name, a monogram, or a short phrase can turn an everyday item into something personal. Tell us the exact wording and where you imagine it.
Brand & team ideas
Think about how your mark will look across a group. Share your logo, the items you have in mind, quantities, and any individual names.
From an idea to a clear plan.
Start with the essentials. Every project deserves a thoughtful conversation.
01 / THE IDEA
Share your vision
Send your wording, artwork, or a description of the design you have in mind.
02 / THE DETAILS
Define your project
Tell us about the item, preferred colors, quantity, and desired date.
03 / THE NEXT STEP
Discuss the possibilities
Confirm design, materials, pricing, and timing before an order proceeds.
A few answers before we begin.
What should I include in my inquiry?
Tell us the item, approximate quantity, design or exact wording, preferred colors, placement, and desired date. If you have artwork, include a link you can share or email it after your inquiry. If you only have an idea, describe it.
How does artwork become embroidery?
Digitizing turns artwork into instructions for an embroidery machine. The design’s size, stitch direction, density, and sequence need to suit the item. A visual preview helps plan the look; a test sew-out checks how the design behaves in fabric and thread.
Is a mockup the same as a PES or DST file?
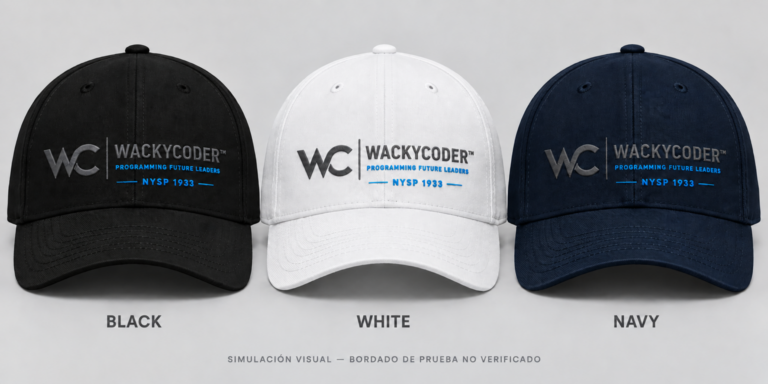
A mockup is a visual concept. PES and DST files contain embroidery stitch data. Neither a convincing image nor a file extension proves that a design is ready for production. Machine compatibility, size, placement, and a test sew-out still need review. Our WackyCoder gallery currently shows mockups.
Can small text and detailed logos be embroidered?
Size and material matter. Very fine lines, small lettering, and complex detail may need simplification to remain readable in thread. Share the intended size and item so the design can be assessed before you commit.
What determines the project price?
The item, quantity, design complexity, digitizing needs, embroidery size, number of placements, and personalization all affect the scope. Pricing and any setup costs are confirmed for your particular project before an order proceeds.
Can I request a specific date or supply my own item?
Include your desired date and describe the item, fabric, and condition. Suitability, availability, minimum quantities, timing, and whether customer-supplied items can be accepted are confirmed individually.
Where does AI fit into the process?
AI can help explore visual directions and design ideas. Turning a concept into reliable embroidery still calls for artwork review, digitizing, material choices, and stitch testing. A generated image is a starting point, not a finished stitch file.
ABOUT THE STUDIO
Learn. Imagine. Plan every stitch.
AI Embroidery Studio brings together beginner learning and custom-project planning in English and Spanish. Our aim is to explain each step clearly, from an idea or a personal name to the requirements of an embroidery design.
The site is developing. Reference photographs, cap concepts, and project examples are placeholders. Actual sew-outs, original demonstrations, and checked stitch files will be added when available.
What you can do today
- Explore five free lessons and a preparation path.
- Browse cap, name, and brand concepts.
- Send an inquiry to discuss your idea and its scope.
Paid enrollment, lesson booking, and verified downloadable stitch files are not available yet. Lesson prices are provisional; custom projects require an individual quote.
How a project is planned.
A proposed workflow to help you prepare an inquiry. Production availability and terms are confirmed individually; submitting an inquiry does not create an order.
1. Share your idea
Describe the item, quantity, wording or logo, and desired date.
2. Define the scope
Materials, placement, digitizing, and setup costs are reviewed before a price is confirmed.
3. Review the proposal
The proposal should state inclusions, timing, terms, and any required payment.
4. Check a sample
Design appearance and stitch quality are reviewed separately before any agreed production.
Prepare your project brief
- Item, fabric type, quantity, and approximate budget.
- Exact wording, names, colors, and embroidery placement.
- Approximate size, a visual reference, and desired date.
- Say whether you will supply the item or need item options.
- Share only artwork you have the right to use. Do not send sensitive personal information.
Include an artwork link in your message or send it by email; an upload field is not available yet.
Let’s start with your idea.
A few details help us understand your project:
- Item and approximate quantity
- Logo, exact wording, or design idea
- Front, back, strap, or another placement
- Preferred colors and approximate design size
- Desired date and any artwork link
This begins a project conversation. Pricing, suitability, and timing are confirmed before an order.
Prefer email? info@AiEmbroideryStudio.com
Project inquiry
Your idea. Your identity. Your next project.